
🎁 LG,BE’s 12 Days of Christmas🎁
DAY 10
Have you ever wondered what the reality of writing a food blog is reaaaaally like? I test and pivot around obstacles that are bound to happen in the kitchen so that you don’t have to endure those yourselves. Although I’d like to think I am the Barefoot Contessa of Ottawa, there are absolutely times when I don’t actually succeed and maybe it’s just as important to share those moments with you guys too.
THE PLAN: Pay tribute to my boyfriend’s Jewish background by trying my hand at a Hanukkah favourite: brisket.
(By the way, Merry Chrismukkah!)
THE PREP: Normally, I would probably be able to figure out the cook and flavour profile of what I want to attempt, but the intimidating thing about brisket? The brisket itself! We aren’t talking a few cute little pieces of filet, we’re talking a beefy 3-4 pound sucker… and that’s a baby brisky!
It’s a complicated cut of meat because it really depends on timing and temperature more than anything else. This recipe also called for some planning ahead of time; I had to borrow a roaster from a friend that would fit the brisket, I had to do some research on the different cuts of brisket, and then lastly order and pick-up said brisket. from a local butcher.
Then, I had to wrap my mind around actually cooking the dang thing.
THE FIRST PROBLEM: I’m sure many of you have had the experience of asking a relative for the recipe on how to cook your favourite dish and they give you a few spark-notes and measurements that aren’t really measurements. Frankly, I’m guilty of doing this myself! If you’ve made something so many times, you stop referring to the recipe and the ‘just go with it’ attitude surfaces. Needless to say, when I asked the boyfriend’s parents on the cooking instructions and ingredients they use to make their mouth watering brisket, it was a very similar experience.
THE SECOND PROBLEM: We realized about an hour too late that we had started off the temperature of the oven too high and it essentially went downhill from there. The marbling didn’t quite render and the protein didn’t quite pull apart effortlessly. It took another additional 1.5 hours to get it where it COULD be edible, but it was clear that it wasn’t going to work. Sadly, there was no way I could pull off another attempt within my timeframe of writing/cooking for 12 Days, and really it came down to me re-evaluating what was feasible and not quite as intimidating for my audience.
THE RESULT: So, although it smelled, looked, and even had a similar taste as the family brisket — I had to part ways.
THE BACKUP PLAN: The pot roast of your dreams!
🎁
INGREDIENTS
- 2-3lb beef blade roast (aka, a chuck roast)
- 1 tablespoon of olive oil
- S+P, a good amount
- 1/2 packet of french onion soup mix
- 1 1/2 cups of beef broth
- 1/2 tsp of dried thyme
or 2-3 sprigs of fresh thyme - 1 bay leaf
- 4-5 large carrots, peeled and cut into chunks
For gravy:
- 1-2 cups of strained braising liquid, fat skimmed off the top.
Add additional beef broth if not enough available - 1/3 to 1/2 cup of flour
- S+P
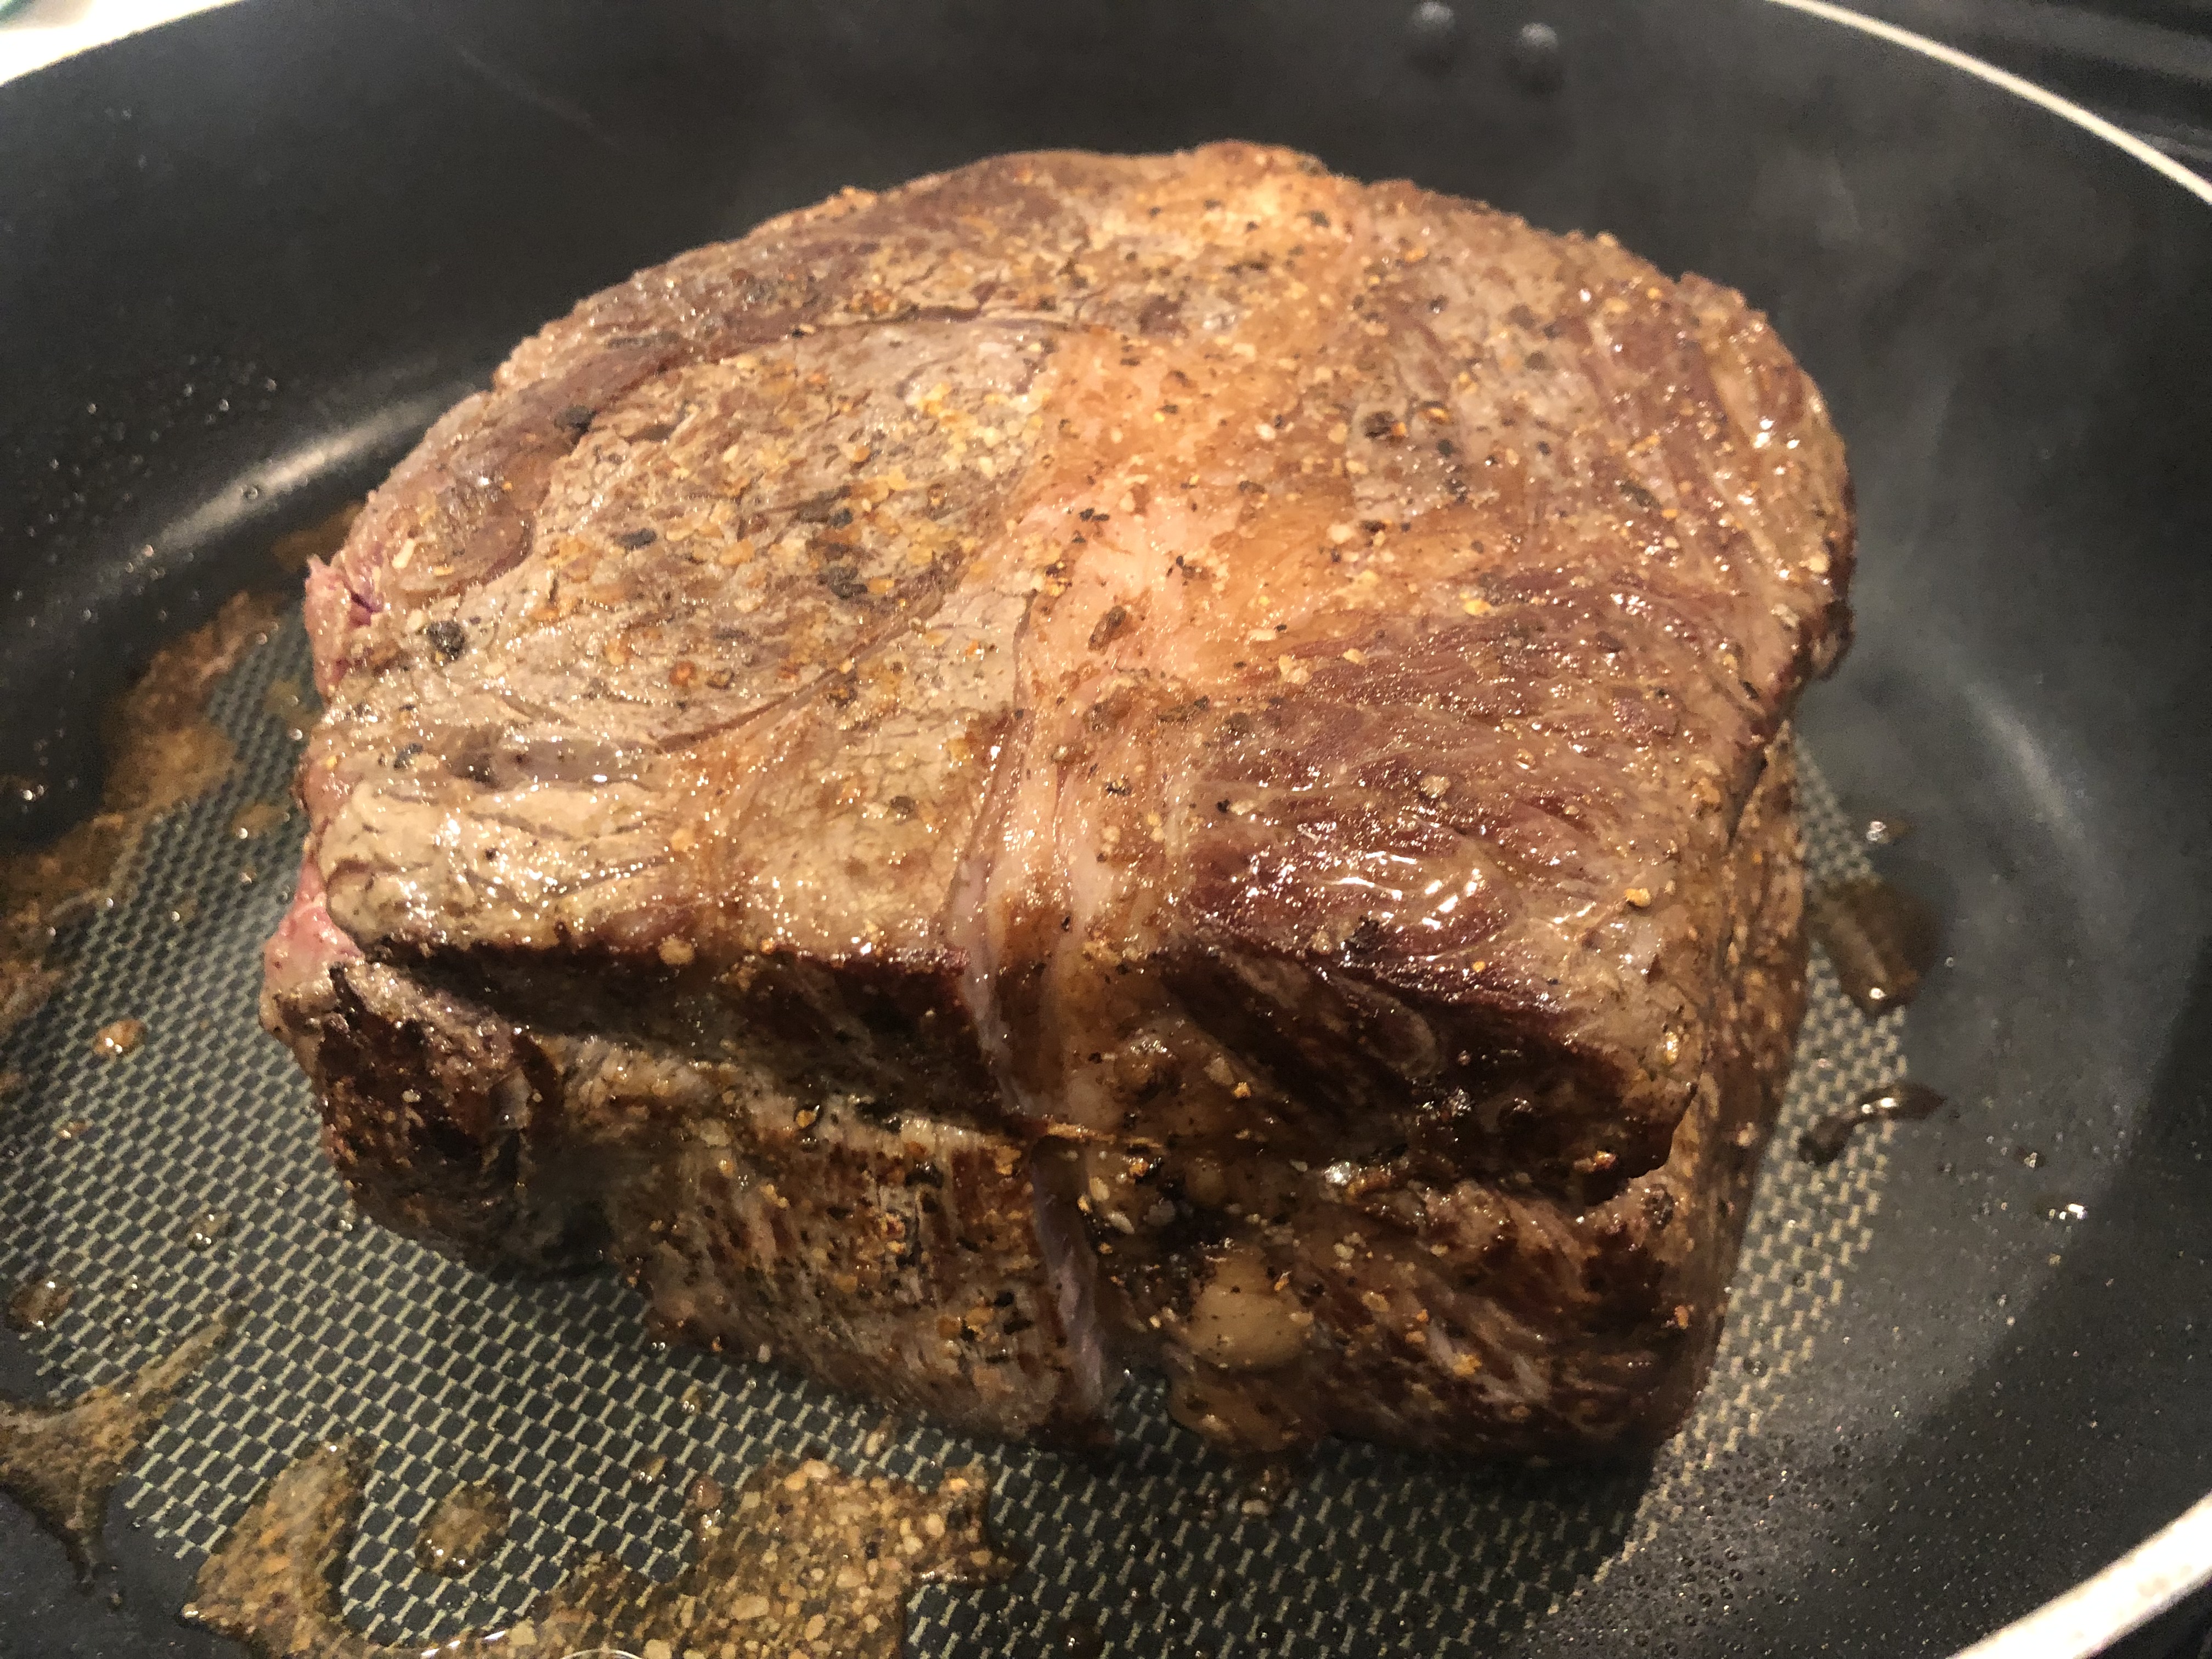
Start by salt + pepper’ing your roast liberally on ALL sides. Next, heat a saute pan to medium-high heat and add the olive oil when ready (it should shimmer along the pan when ready). Using tongs, place the meat flat side down into the pan. DO NOT MOVE IT!! Wait a good minute or two before rotating the roast on all sides to achieve a crusty, golden brown sear on all sides. This process should take no more than 6ish minutes to do the entire roast.
The intention is not to cook it through but instead add some extra umami flavour from the seared meat and also some texture to the final product. Place within the bottom of your slow cooker.
To the pan, add the broth and scrape up any browned bits from the bottom. Add the broth to the slow cooker as well, along with the bayleaf and fresh thyme. Taking the onion soup mix, sprinkle half over top of the meat directly and use your hand to pat it into the meat. You can always use more than half the packet but be mindful that they are already high in sodium and if there is a need to add more salt to the final dish, you can do so with the gravy.
Next, cover the slow cooker with it’s lid and place it on low temperature. Overall, the cooking time recommended is 8 hours, minimum. Pot roast is a cut that can yield incredibly tender meat if cooked extremely low and slow, so this amount of time is needed in order to break down the fatty muscle of the protein. If you’ve tried to rush a pot roast in the slow cooker before, it’ll be no surprise to you that by cooking the protein at a higher heat for a short amount of time results in a very tough, chewy, and basically inedible piece of meat. So literally, set the timer and let that slow cooker work it’s magical power.

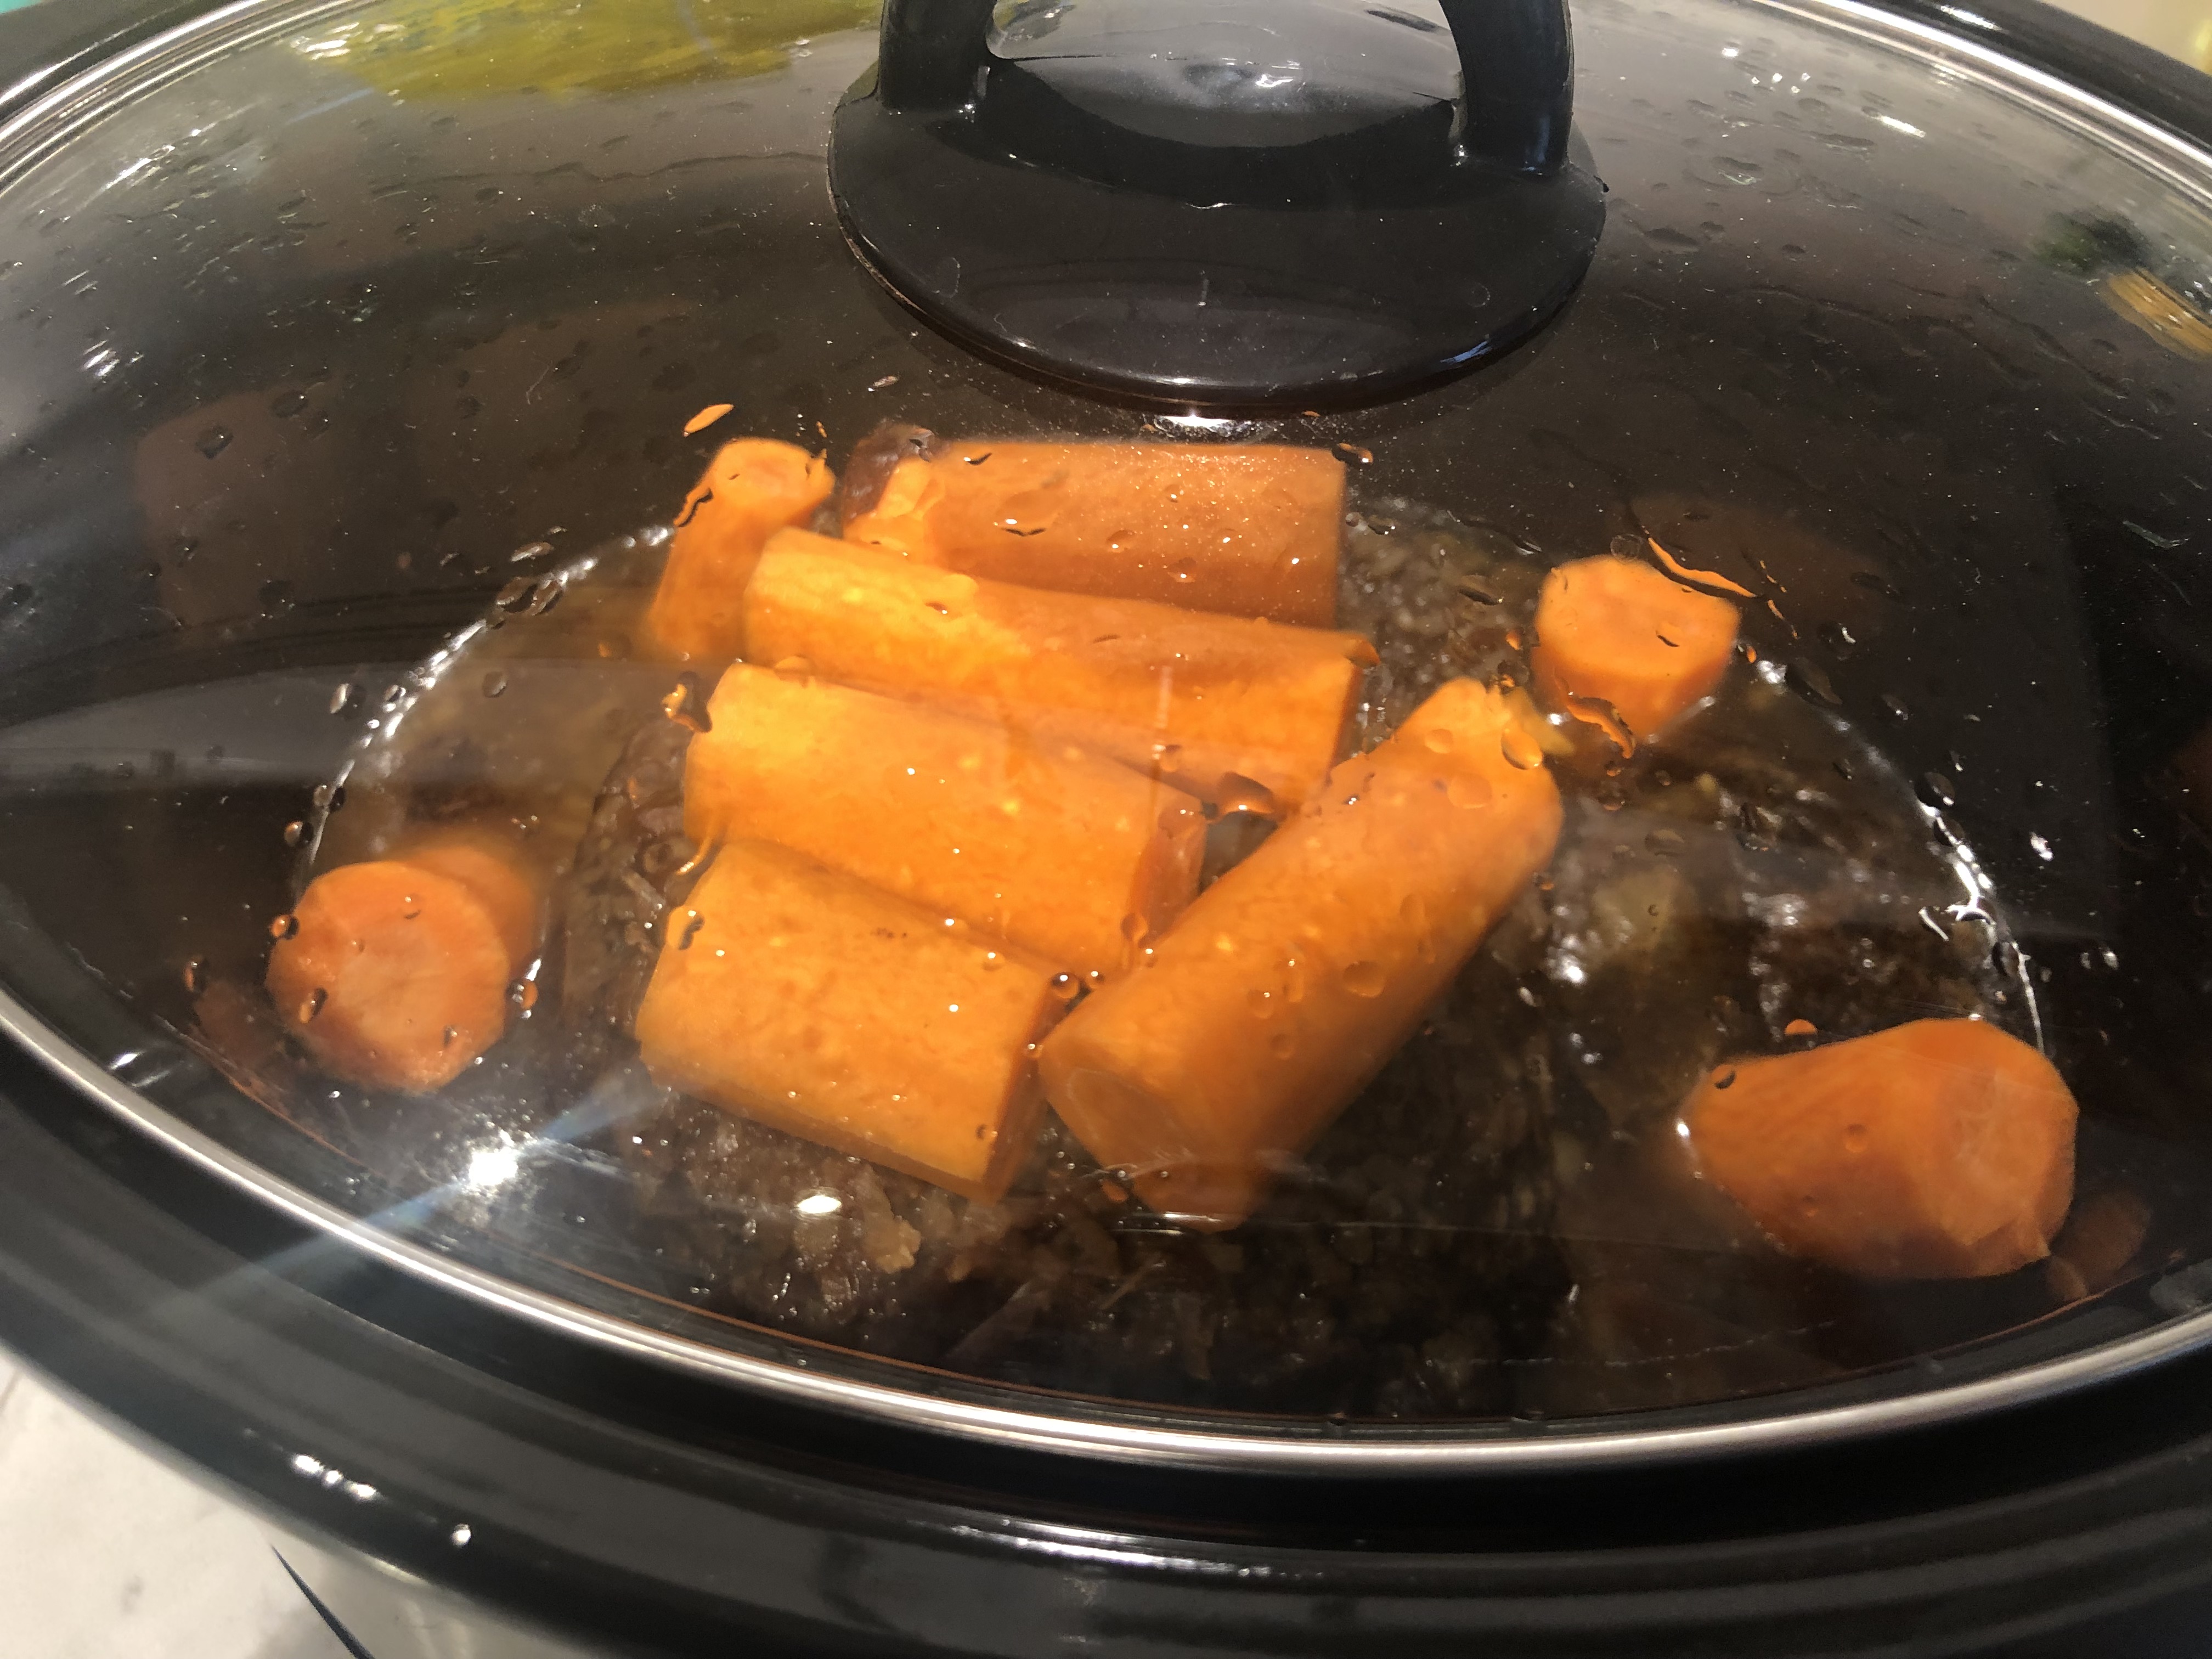
At the 5hr mark, it’s time to add your carrots. We don’t add them right from the get go because otherwise we would have carrot mush swimming around in the roast drippings and nobody wants that! Try to place the carrots on top of the meat rather than in the liquid for this exact reason. If a few are unable to fit, don’t sweat it. They still add great flavour to the drippings and are usually JUST hitting the mushy mark at that time. Put the lid back on and cook for an additional 3 hours.
When your pot roast is ready to be pulled out of the slow cooker, place it on a baking tray lined with parchment or tinfoil. Let it rest for a few minutes while you begin straining the gravy and skimming the fat off the top. I know there are tools for this sort of job, and as much as it’s a pain in the butt, it is 100% worth the end-result. We do not stan oily, fatty gravies if we can help it on this blog. I usually take a serving spoon and try to pull as much fat from the top as possible. There’s a few ways mentioned in this video if you have no idea what I’m talking about.
Discard the grisly bits, bay leaf, string that may be holding the pot roast together, and the sprigs of thyme if you used fresh. Take the carrots and keep them with the pot roast for now.
Next, take the drippings and add them to a sauce pan on medium heat. With about 3/4 cups of water, add flour and whisk together until you make a lump-free slurry (used for thickening, a bit more old fashioned then the ol’ cornstarch slurry method). Next, slowly add the flour slurry while continuously whisking into the drippings until completely incorporated. Allow the gravy to come to a boil and then reduce to low and simmer for about 3-6 minutes depending on your gravy consistency of choice. Season with salt and pepper to taste. Keep warm until ready to serve.
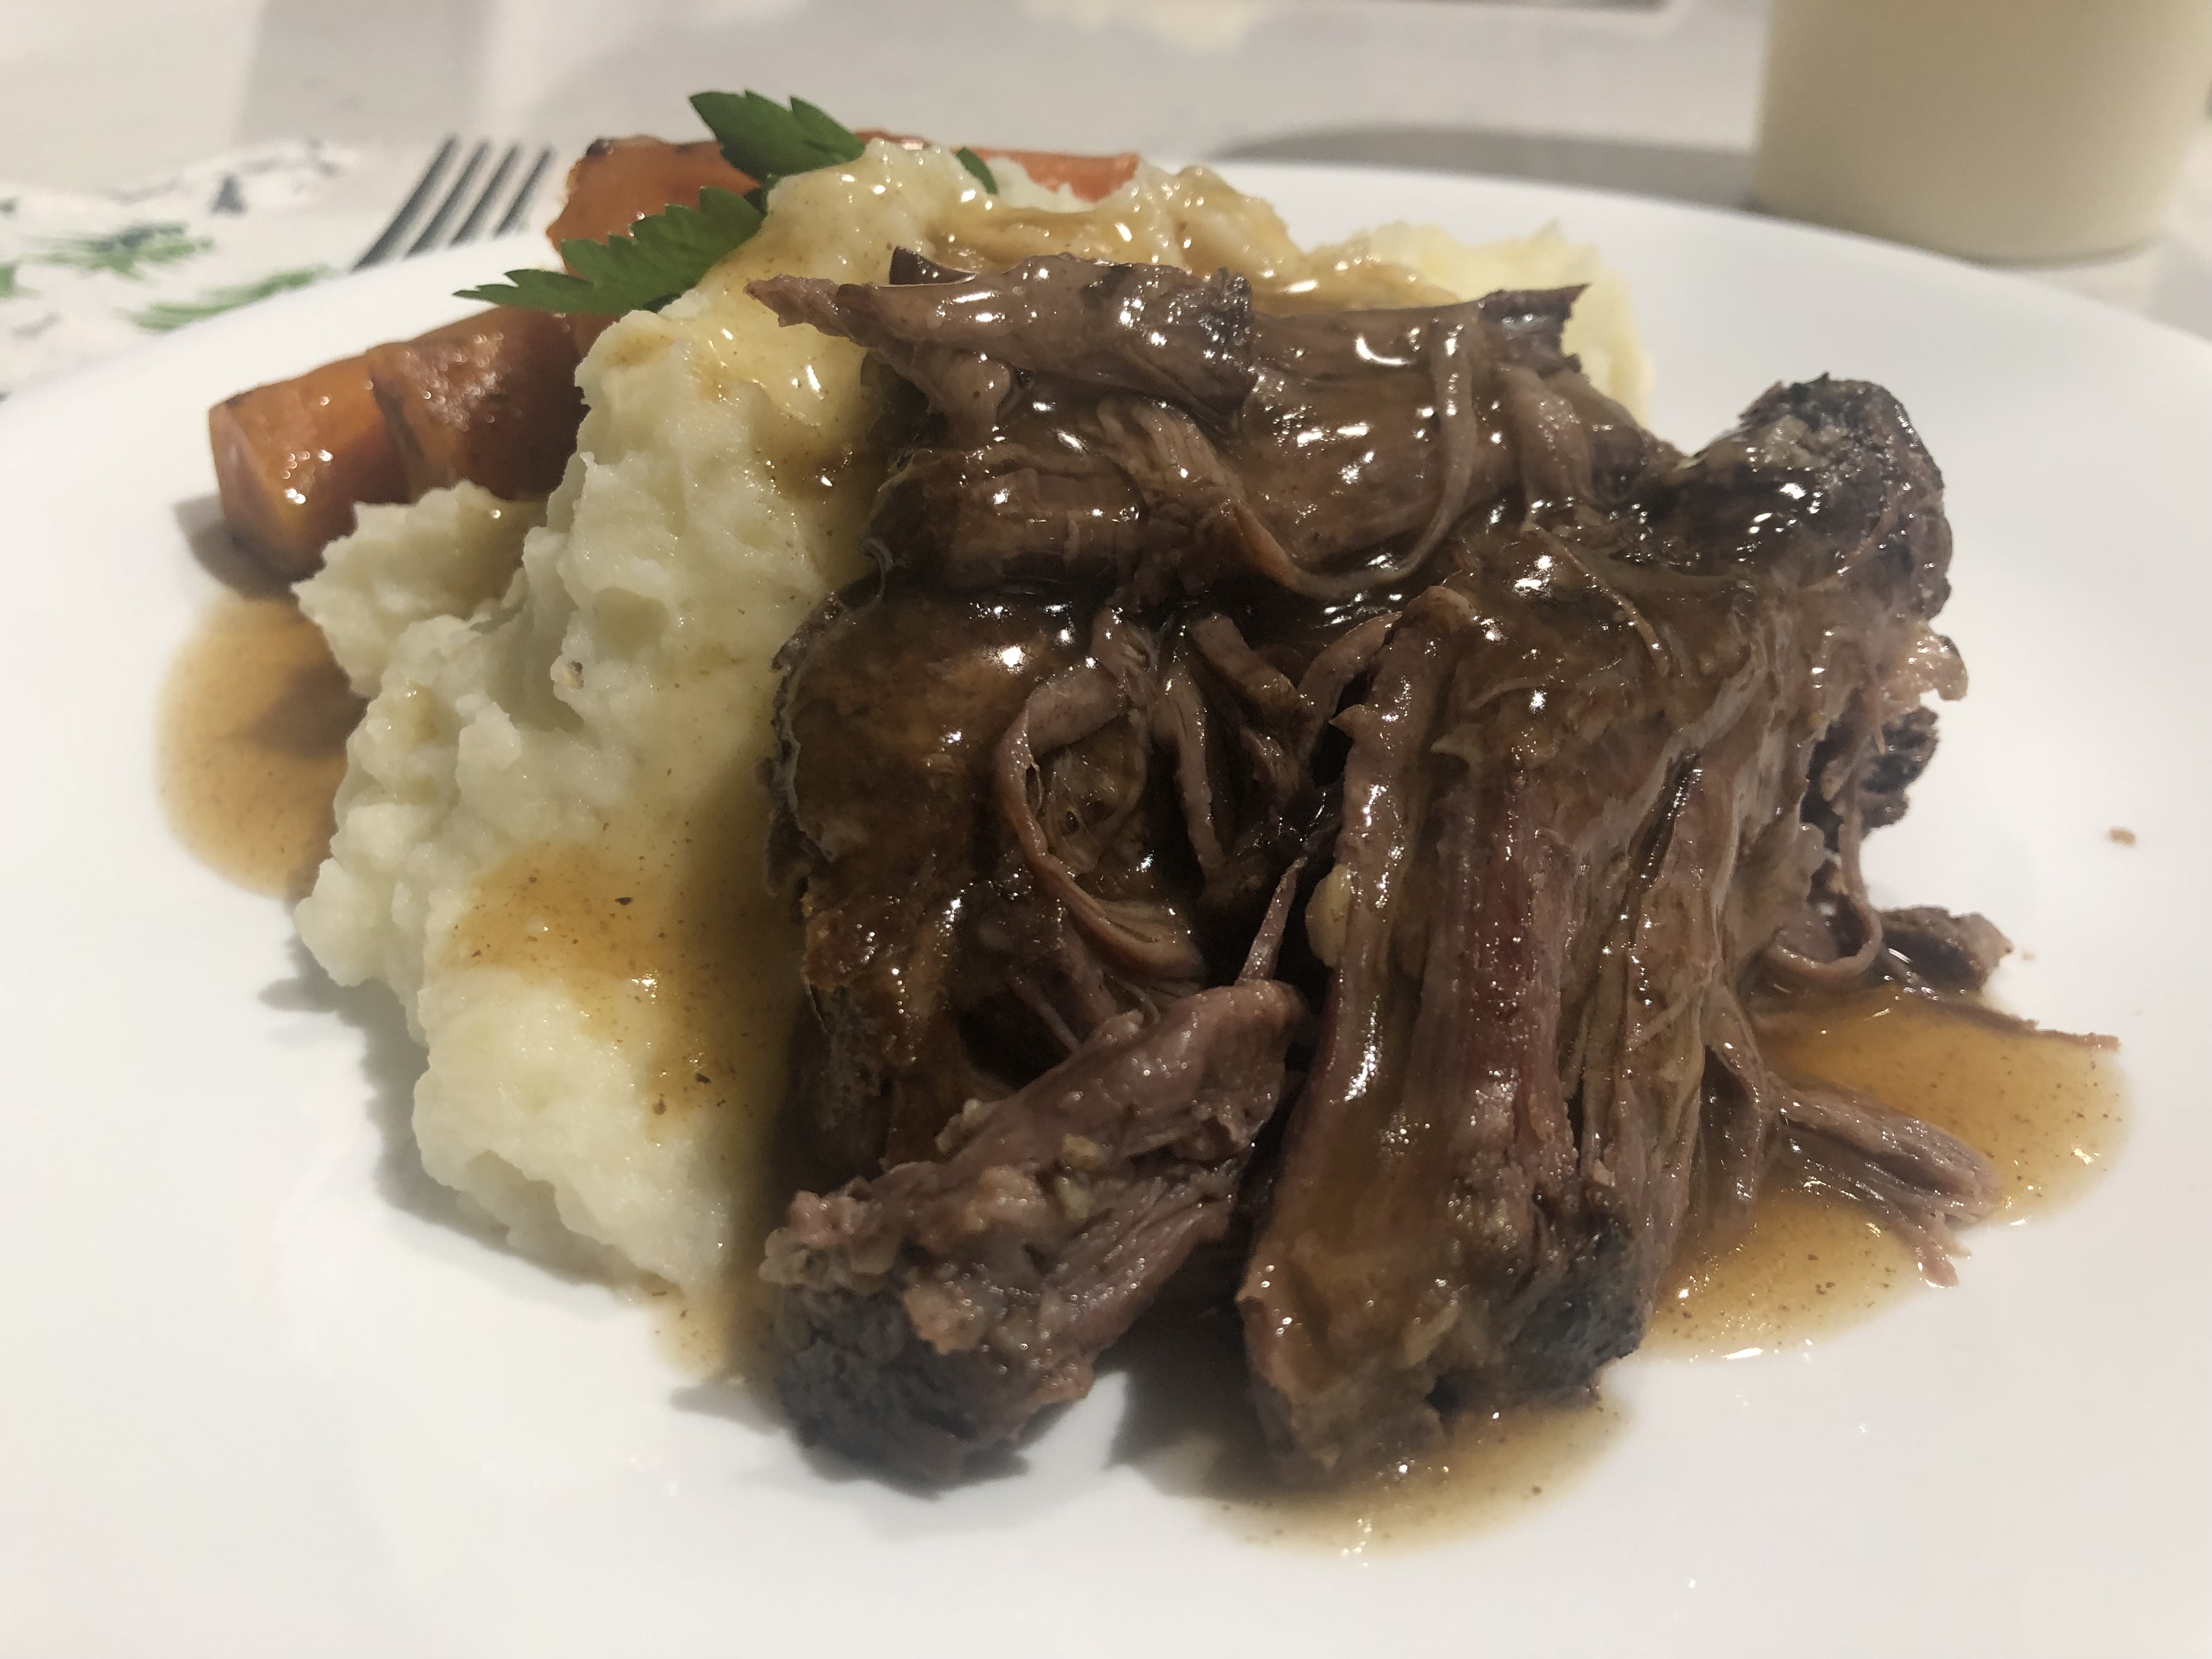
For the roast, take two forks and slowly fork apart the meat. You’ll notice that the inside is slightly pink (a good sign of an awesome braise). Discard any bits that are too fatty for eating and serve the rest warm with creamy mashed potatoes, the super carrots, and your homemade gravy. Dig in, friends!!
As always, peace and good eats.
-A❁
